How Can We Help?
Connect Windows 7,8,10 devices to VPN server
Step 1.
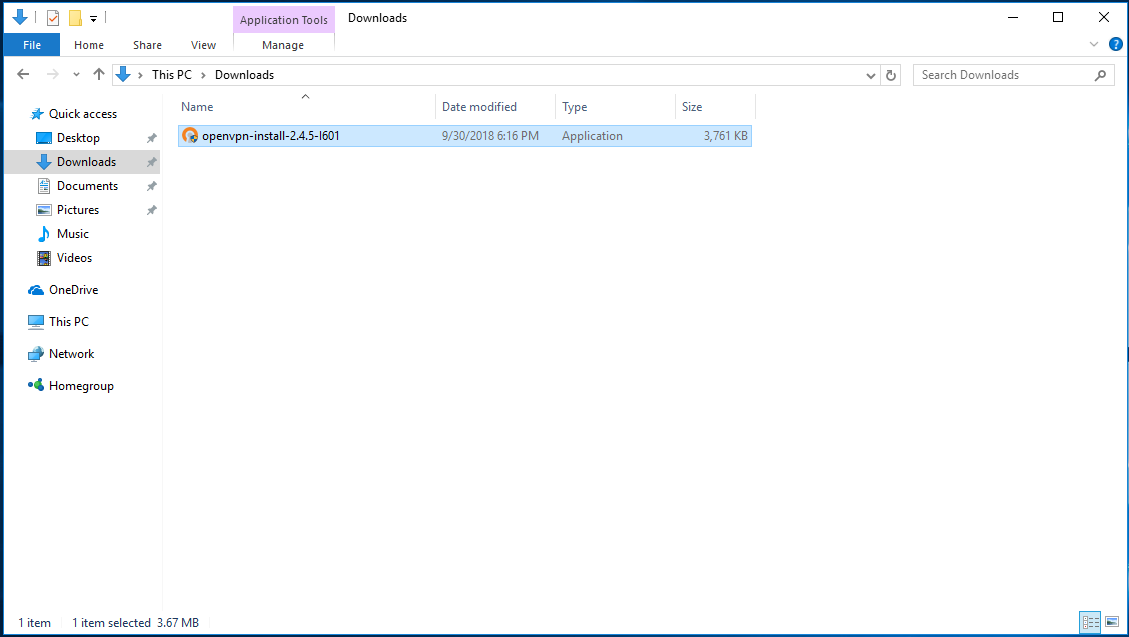
Download the OpenVPN GUI application, for free:
If using Windows 10, 8, 7 and Vista download [shortlink openvpn-client-windows]here[/shortlink]
Step 2.
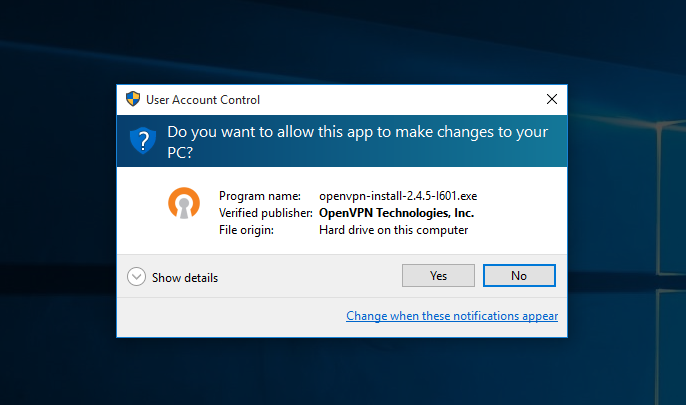
To Install the OpenVPN GUI application Run (double-click) the installer.
Allow app to make changes (Choose Yes).
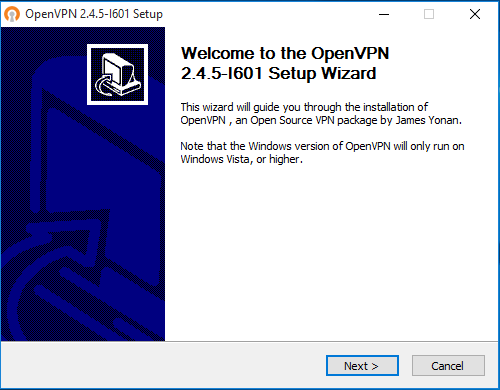
Follow the wizard.
Note: If the installer needs confirmation to install a TAP network interface, please allow it too.
Reboot your pc.
Step 3.
Once the application is installed, download your configuration file(s) and place it to your Desktop or Documents folder.
Note: You can find your configuration files in your emails (check spam folder too) with subject: “Your VPN configuration files“.
Step 4.
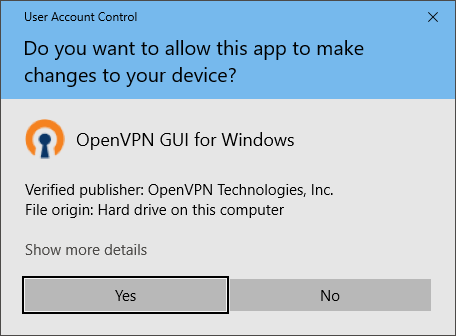
Open the OpenVPN client and allow the application administrative permissions – it’s necessary for a VPN connection.
Step 5.
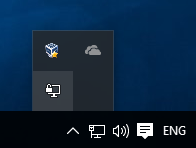
The application will start running in the system tray. It’s the area near your clock:

It might also be in the hidden system tray area:
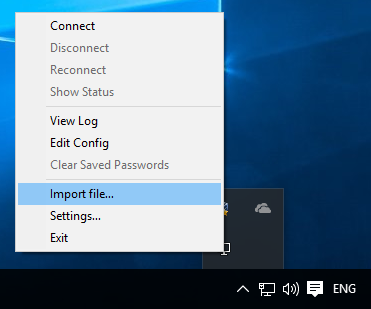
Step 6.
Right click the application icon, click “Import file …” and choose your configuration file from your desktop or documents folder.
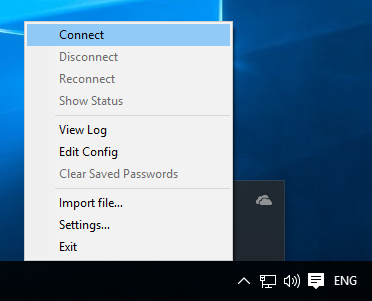
Right click the application icon, hover over one of the servers (if you there are more than one), and/or click connect.
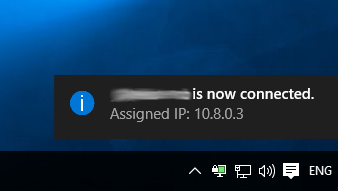
You will notice for a moment a similar dialog, like below, verifying that you are connected to the VPN.
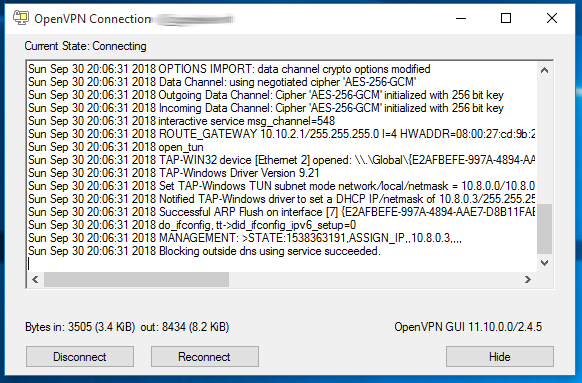
Step 6.
After a few seconds, the application will connect and the window will dissapear. The system tray icon will turn green, and indicate that you are connected when you hover over it:
Step 7. (optional)
Verify all your traffic is being redirected through the VPN: Now, you can open your browser to https://whatismyipaddress.com/ and verify that your using your server’s ip address.
Run the DNS leak tests: https://www.dnsleaktest.com/
If you want to know more about DNS leak read here
You must be logged in to post a comment.